
How to sharpen scissors for kitchen

Learn How to sharpen scissors for kitchen use with safe, easy methods you can do at home. This guide gives clear steps, tools, and tips for sharp results.
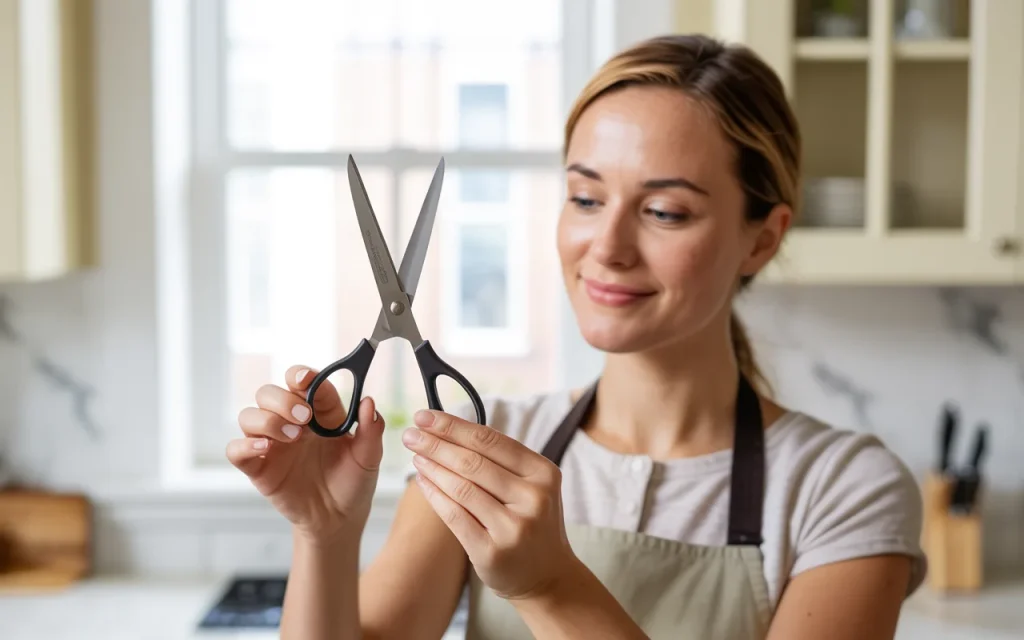
A good pair of kitchen scissors makes daily cooking tasks simple. You cut herbs, open food packs, trim meat, and slice parchment paper with ease. Over time, scissors lose their sharp edge. This can make cutting slow and unsafe. Many people throw them away too soon. That is a waste of money and tools.
This guide explains How to sharpen scissors for kitchen use in a clear and friendly way. You do not need special skills. You do not need costly tools. You only need a little time and care. I have used these methods at home for years, and they work well for regular kitchen scissors.
Sharp scissors help you work faster. They also keep your hands safe. Dull blades slip and need more force. That can cause cuts. With the right steps, you can bring your scissors back to life and enjoy smooth cutting again.
As home cook Lisa Turner says,
“Sharp tools make cooking calm and safe. I sharpen my scissors before they get too dull.”
Why Sharp Kitchen Scissors Matter
Kitchen scissors are used often. They cut many things, from chicken skin to plastic wrap. A dull edge struggles with these tasks. You push harder, and the blade may slip. This puts your fingers at risk. Sharp scissors give clean cuts. They save time. They reduce strain on your hands. They also help food look neat. For example, herbs stay fresh when cut clean, not crushed.
Keeping scissors sharp also helps them last longer. You remove less metal each time if you sharpen early. This protects the blade shape. Learning How to sharpen scissors for kitchen use helps you care for your tools and cook with ease.
Signs Your Kitchen Scissors Need Sharpening
Many people wait too long. Watch for these clear signs.
- The scissors bend food instead of cutting it.
- You hear a crunching sound while cutting.
- The blades slip on smooth items.
- You see small nicks on the edge.
If you notice these signs, it is time to act. Do not wait until the scissors are useless. Early care makes sharpening simple.
Chef Daniel Ross once said,
“I check my scissors the same way I check my knives. A clean cut tells me all I need to know.”
Tools You Can Use at Home
You do not need a workshop. Many common items work well for sharpening.
Common Tools for Sharpening
| Tool Name | Easy to Find | Best For |
|---|---|---|
| Aluminum foil | Yes | Light dullness |
| Sharpening stone | Some kitchens | Medium dullness |
| Sandpaper | Hardware store | Edge touch-up |
| Glass bottle | Yes | Quick fix |
These tools help you learn How to sharpen scissors for kitchen use without stress. Pick one based on what you have at home.
Safety Steps Before You Start
Safety matters. Scissors are sharp tools. Follow these steps before sharpening.
First, clean the scissors. Remove food bits and grease. Use warm water and soap. Dry them well.
Second, check if the scissors can come apart. Many kitchen scissors have a screw. If you can separate the blades, sharpening becomes easier.
Third, work on a flat surface. Keep your fingers away from the edge. Move slowly and with care.
Sharpening with Aluminum Foil
This is the easiest method. It works well for lightly dull scissors. Take a sheet of aluminum foil. Fold it several times until it is thick. You should have a strip with many layers. Hold the scissors as you would when cutting food. Cut through the foil from base to tip. Repeat this action about ten times. Each cut helps smooth the blade edge. After cutting, wipe the blades with a cloth. Test the scissors on paper. You will notice a cleaner cut. This method is simple and safe. It is a great way to practice How to sharpen scissors for kitchen use without tools.
Using a Sharpening Stone
A sharpening stone gives stronger results. It works well for scissors that are more dull. Place the stone on a damp cloth. This keeps it from slipping. If the stone has two sides, use the rough side first. Hold one blade flat against the stone. Match the angle of the blade edge. Slide the blade across the stone in one direction. Use light pressure. Repeat about ten times.
Flip the blade and repeat on the other side. If you removed the blades, sharpen each one on its own. Finish with the smooth side of the stone. Clean the blades and reassemble the scissors.
Learning How to sharpen scissors for kitchen use with a stone takes a bit of practice. The results are worth it.
Sandpaper Technique
Sandpaper works like a stone. It is easy to find and cheap. Use medium grit sandpaper. Fold it so the rough side faces out. Cut through the sandpaper several times. Use full strokes from base to tip. This method removes small burrs. It also smooths the edge. Clean the blades after you finish.
Sandpaper is a good choice if you do not have a stone. It helps you keep scissors sharp with little effort.
Glass Bottle Trick
This method surprises many people. It works as a quick fix. Find a glass bottle with a thick rim. Open the scissors wide. Place the rim between the blades. Close the scissors as if cutting the glass. Do this slowly and gently. Repeat several times. The glass helps align the blade edge.
Clean the scissors after. Test them on paper. This method is best for small touch-ups.
Comparing Sharpening Methods
Each method has its use. Here is a simple comparison.
Sharpening Method Comparison
| Method | Skill Level | Result Strength |
|---|---|---|
| Foil | Very easy | Light |
| Stone | Medium | Strong |
| Sandpaper | Easy | Medium |
| Glass bottle | Easy | Light |
Choose the method that fits your needs. All support proper care and help you learn How to sharpen scissors for kitchen use at home.
How Often Should You Sharpen Kitchen Scissors
Do not wait too long. Light sharpening often is better than heavy sharpening rarely. For daily cooking, check your scissors once a month. Use foil or sandpaper to keep the edge clean.
For heavy use, check every two weeks. A quick touch-up saves time later. Knowing How to sharpen scissors for kitchen use helps you keep a steady routine and avoid dull tools.
Common Mistakes to Avoid
- Many people make simple errors. Avoid these to protect your scissors.
- Do not sharpen both sides of the blade edge. Most scissors have one beveled side. Sharpen that side only.
- Do not use too much force. Light pressure works best.
- Do not rush. Slow and steady movements give better results.
- Avoid water on scissors that are not stainless steel. Dry them well after cleaning.
Caring for Scissors After Sharpening
Sharpening is only part of care. Storage matters too. Keep scissors dry. Moisture causes rust. Store them in a drawer with a liner or a sheath.
Use scissors only for kitchen tasks. Do not cut wire or thick plastic. This damages the edge. Clean scissors after use. Food acids can dull blades over time.
Home organizer Maria Chen says,
“Simple care habits keep tools sharp longer. I clean and dry my scissors every time.”

Frequently Asked Questions
Can I sharpen serrated kitchen scissors?
Serrated scissors are harder to sharpen at home. Foil may help a little. For best results, a professional service is safer.
Is learning How to sharpen scissors for kitchen use safe for beginners?
Yes. Start with foil or sandpaper. These methods are safe and simple. Move slowly and keep fingers clear.
Do I need oil after sharpening?
A drop of food-safe oil on the joint helps smooth movement. Wipe off any extra oil before use.
How long does sharpening take?
Most methods take five to ten minutes. Regular care saves time in the long run.
Can sharpening ruin scissors?
Improper technique can cause damage. Follow clear steps and avoid heavy pressure. Practice makes it easier.
Conclusion
Sharp kitchen scissors make cooking easier and safer. You do not need special tools or skills. With simple methods and care, you can keep your scissors working well for years. This guide shared clear steps, tools, and tips based on real home use. By learning How to sharpen scissors for kitchen use and practicing often, you protect your hands and your tools. Take a few minutes each month. Your kitchen work will feel smoother, cleaner, and more enjoyable.
Related posts
 Which kitchen tools are essential for cooking
If you are wondering Which kitchen tools are essential for cooking , the answer includes nonstick pans, silicone utensils, stainless steel bowls, and dishwasher safe cookware…
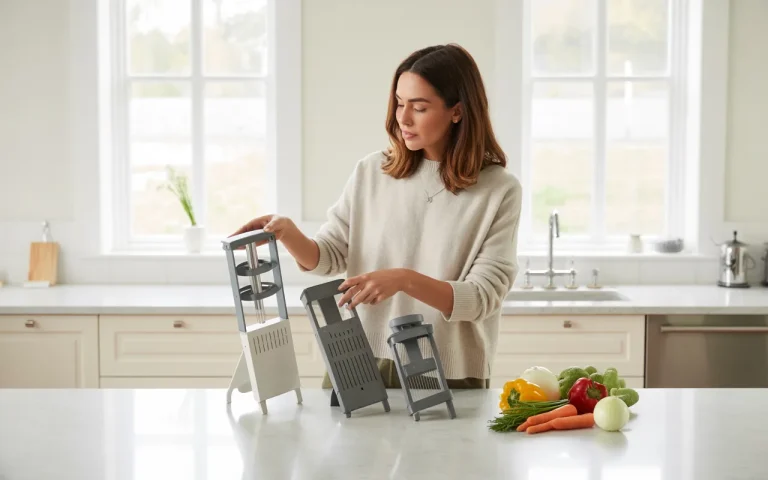 How to Choose the Right Vegetable Chopper
If you are wondering How to Choose the Right Vegetable Chopper, this guide explains blade types, size, material, safety features, and cleaning ease so you can…
 Best Portable Dishwasher 2026
Looking for the Best Portable Dishwasher 2026? This detailed guide reviews top models, features, pros and cons, pricing, and expert tips to help you choose the…