
How to measure liquid ingredients
Learn How to measure liquid ingredients with clear steps, simple tools, and common sense tips that help you get accurate results every time you cook or bake at home.
Measuring liquids sounds simple, but many home cooks still feel unsure. A small mistake can change taste, texture, and final results. That is why learning How to measure liquid ingredients the correct way matters in daily cooking and baking. I learned this the hard way while baking my first cake. The batter looked right, but the cake came out dense. The issue was extra milk.
This guide is written to help you feel confident. The steps are easy. The tools are basic. The language is simple. By the end, you will know exactly what to do, even if you are new to the kitchen.
“Good cooking starts with respect for small details.”
Julia Child
Why Measuring Liquids Correctly Matters
Liquid ingredients affect texture, taste, and balance. Water, milk, oil, broth, and juice all behave differently. Too much can ruin a dish. Too little can dry it out.
In baking, liquid ratios are even more important. Bread, cakes, and cookies rely on balance. One extra spoon of liquid can change everything.
Learning How to measure liquid ingredients helps you cook with confidence. It saves time, money, and stress.
Common Liquid Ingredients Used in Cooking
Liquids appear in almost every recipe. Knowing what counts as a liquid helps avoid confusion.
Examples of liquid ingredients
- Water
- Milk
- Oil
- Vinegar
- Soy sauce
- Honey
- Syrup
- Lemon juice
Some thick liquids behave like solids, but they still need liquid tools.
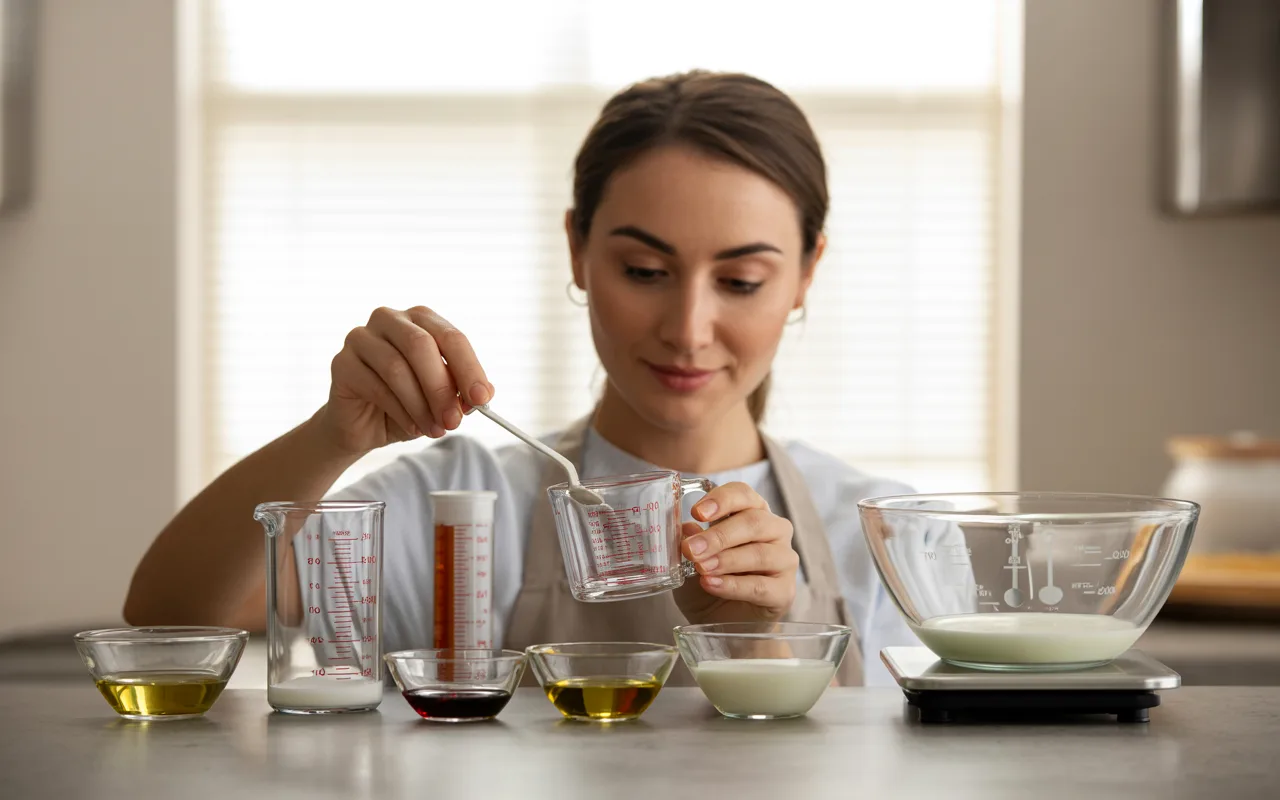
Tools Used to Measure Liquid Ingredients
The right tool makes measuring easy. Dry tools and liquid tools are not the same.
Basic measuring tools
| Tool Name | Best Use |
|---|---|
| Liquid measuring cup | Water, milk, oil |
| Measuring spoons | Small amounts |
| Clear jug with marks | Large amounts |
Liquid measuring cups are usually clear. They have space at the top to avoid spills.
How to Measure Liquid Ingredients Step by Step
This section explains How to measure liquid ingredients in the simplest way possible.
Place the cup on a flat surface
Always keep the cup steady. Do not hold it in the air.
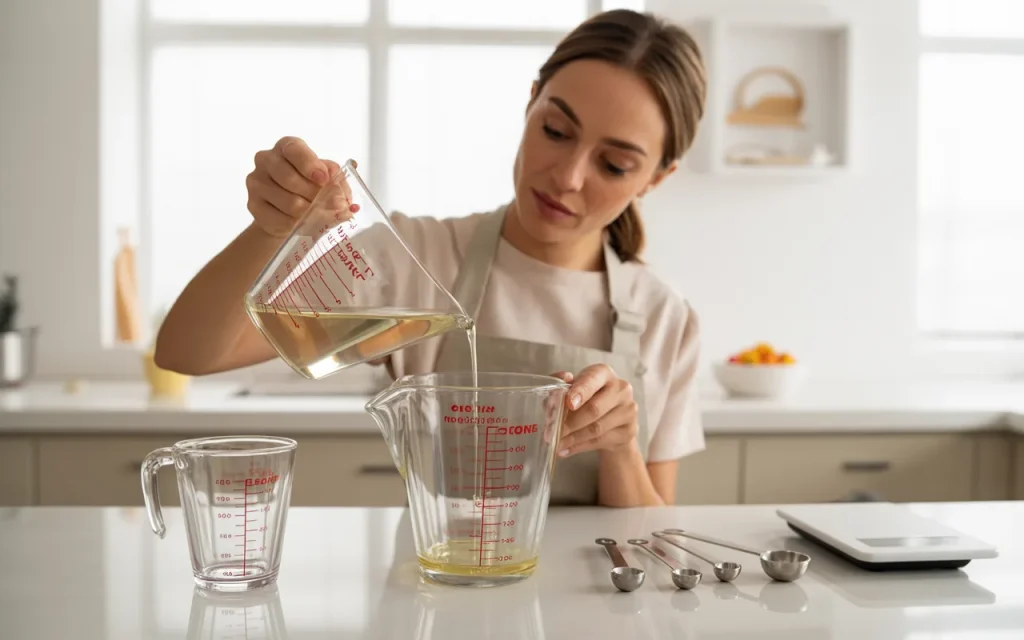
Pour slowly
Add liquid until it reaches the mark.
Check at eye level
Bend down slightly. Your eyes should be level with the line.
Adjust if needed
If it is too much, pour a little out. If too little, add more.
That is it. No guessing needed.
Reading Measurement Lines Correctly
Measurement lines can confuse beginners. Cups often show cups, milliliters, and ounces.
| Mark Type | Meaning |
|---|---|
| Cup | Common in home cooking |
| ml | Metric system |
| fl oz | Fluid ounces |
Always follow the unit listed in the recipe. Mixing units causes errors.
Measuring Small Amounts of Liquid
Small amounts need more care. Measuring spoons work best here.
Use them for:
- Vanilla extract
- Oil
- Vinegar
- Lemon juice
Fill the spoon to the top. Do not let it overflow.
This step is key in How to measure liquid ingredients for baking.
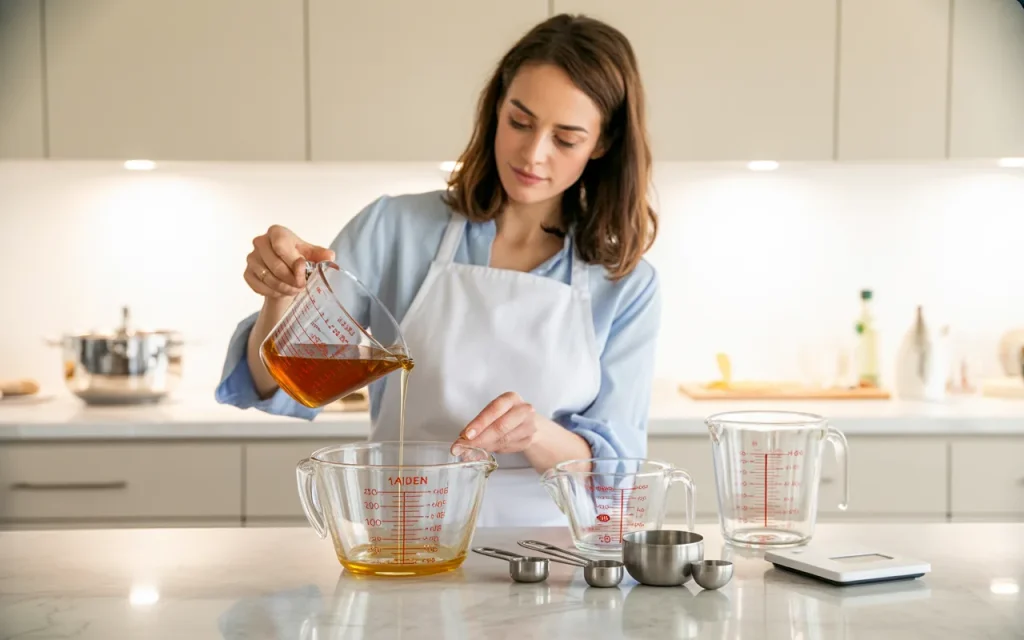
Thick Liquids Need Extra Care
Honey, syrup, and molasses are thick. They stick to cups and spoons.
Tips for thick liquids
- Lightly oil the spoon or cup
- Pour slowly
- Let it settle before checking the line
This makes sure you get the full amount.
“Cooking is about balance, not luck.”
Gordon Ramsay
Common Mistakes to Avoid
Many people make the same mistakes again and again.
Mistakes to watch for
- Using dry cups for liquids
- Holding the cup in the air
- Guessing instead of checking
- Mixing unit types
Avoiding these improves results fast.
Liquid Measurement Differences by Region
Recipes come from many places. Units can change by country.
Common unit differences
- US cup is not the same as UK cup
- Metric uses milliliters
- Some recipes use weight instead of volume
Always check the recipe source. This helps with How to measure liquid ingredients correctly.
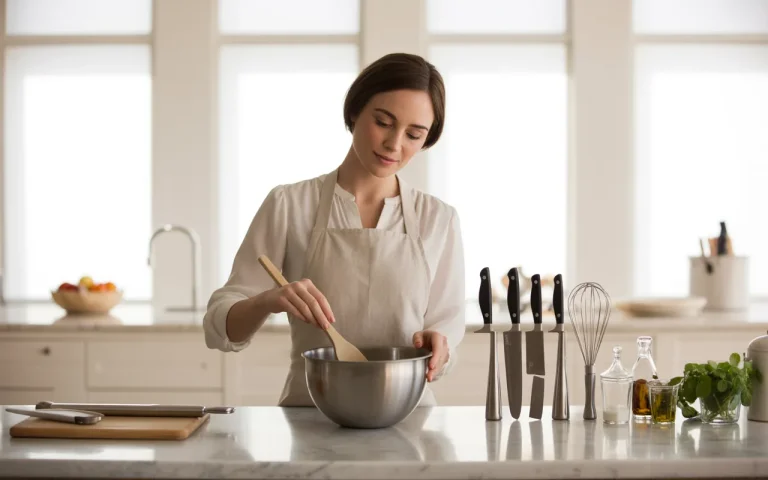
Tips for Baking Success
Baking needs more care than cooking. Precision matters.
Helpful tips:
- Measure liquids first
- Use clean tools
- Do not rush
- Double check amounts
Following these steps saves failed batches.
Measuring Liquids Without Measuring Cups
Sometimes tools are missing. You can still measure with care.
Simple swaps
- Tablespoon equals three teaspoons
- Four tablespoons equal one quarter cup
- Use marked bottles if available
These tricks help in a pinch but tools are always better.
Teaching Kids to Measure Liquids
Cooking with kids builds skills. Start with liquids.
Let them:
- Pour slowly
- Check lines together
- Learn patience
This builds early kitchen confidence.
“The kitchen is a place where learning feels natural.”
Alice Waters

Frequently Asked Questions
What is the best way to measure liquids?
The best method is using a clear liquid measuring cup on a flat surface. This ensures accuracy and prevents spills.
Can I use dry cups for liquids?
Dry cups are not ideal. They lack space at the top and cause overflow. Use liquid cups for best results.
Why does eye level matter?
Eye level helps you see the exact line. Looking from above or below causes wrong readings.
Is weighing liquids better than measuring?
Some recipes prefer weight. Most home recipes use volume. Follow what the recipe asks.
How often should I check measurements?
Check every time. Even experienced cooks double check.
Conclusion
Learning How to measure liquid ingredients is a simple skill with a big impact. It improves taste, texture, and confidence in the kitchen. With the right tools, clear steps, and a calm pace, anyone can do it well. Start slow. Practice often. Small care leads to better food. Once this skill feels natural, cooking becomes more enjoyable and results stay consistent every time.
Related posts
 Which kitchen tools are essential for cooking
If you are wondering Which kitchen tools are essential for cooking , the answer includes nonstick pans, silicone utensils, stainless steel bowls, and dishwasher safe cookware…
 How to Choose the Right Vegetable Chopper
If you are wondering How to Choose the Right Vegetable Chopper, this guide explains blade types, size, material, safety features, and cleaning ease so you can…
 Best Portable Dishwasher 2026
Looking for the Best Portable Dishwasher 2026? This detailed guide reviews top models, features, pros and cons, pricing, and expert tips to help you choose the…