
How to Make Fresh Pasta with KitchenAid: A Simple Guide
Learn how to make fresh pasta with KitchenAid in simple steps. Discover tips and techniques for using your KitchenAid mixer to create delicious homemade pasta.
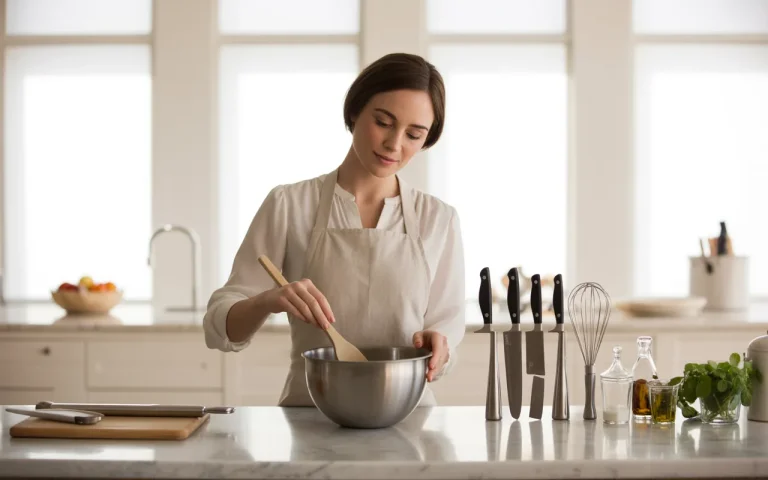
Making fresh pasta from scratch is one of the most rewarding culinary experiences you can have. Not only does it taste significantly better than store-bought pasta, but it also allows you to add your own personal touch. In this guide, we’ll walk you through how to make fresh pasta with KitchenAid, covering all the steps, tips, and techniques you need to create perfect homemade pasta every time.
Why Use KitchenAid for Pasta Making?
Making fresh pasta can be a time-consuming and labor-intensive task, but KitchenAid has revolutionized the process. With its robust stand mixer and pasta attachments, you can create restaurant-quality pasta in the comfort of your home with ease. The KitchenAid mixer makes it simpler to knead the dough, roll it out evenly, and cut it into various pasta shapes. The stand mixer’s powerful motor ensures that the dough is well-mixed, eliminating the need for manual effort. Plus, the various pasta attachments available for KitchenAid make it possible to create anything from spaghetti to fettuccine to ravioli.
If you’re wondering how to make fresh pasta with KitchenAid, here’s a step-by-step guide that will show you how to use this incredible appliance to its full potential.
Ingredients You’ll Need for Fresh Pasta
Before you start, gather the following ingredients to make the dough:
- 2 cups all-purpose flour (you can use semolina flour for a more authentic texture)
- 3 large eggs
- A pinch of salt
- 1-2 tablespoons olive oil (optional for added richness)
Once you have your ingredients, you’re ready to start the dough-making process with your KitchenAid.
Step-by-Step Guide: How to Make Fresh Pasta with KitchenAid
1. Set Up Your KitchenAid Mixer
Start by setting up your KitchenAid stand mixer. Attach the flat beater or dough hook, depending on the attachment you plan to use later on. You can also use the KitchenAid Pasta Roller attachment to roll out the dough.
Tip: If you’re using the dough hook, make sure the mixer is on a stable surface, as pasta dough can be dense and requires a lot of kneading power.
2. Mix the Ingredients
In a bowl, combine the flour and salt. Create a well in the center and add the eggs. If you choose to use olive oil, add it to the egg mixture as well.
Using the mixer on a slow speed, gradually mix the flour into the eggs. Start with speed 2, and as the dough starts to form, you can increase the speed to 4. This process will help bring the dough together.
3. Knead the Dough
Once the dough has come together, switch to the dough hook attachment. Let the mixer knead the dough for about 5-7 minutes. If the dough feels too dry, add water a tablespoon at a time. If it’s too wet, add more flour, a little at a time.
The dough should be smooth, elastic, and slightly tacky. Once you’re satisfied with the texture, remove the dough from the mixer and wrap it in plastic wrap. Let it rest for at least 30 minutes. This resting period allows the gluten to relax, which will make it easier to roll out.
Quote: “Fresh pasta, made with love and care, is an experience in itself that no pre-made pasta can match.” – John C. Adams
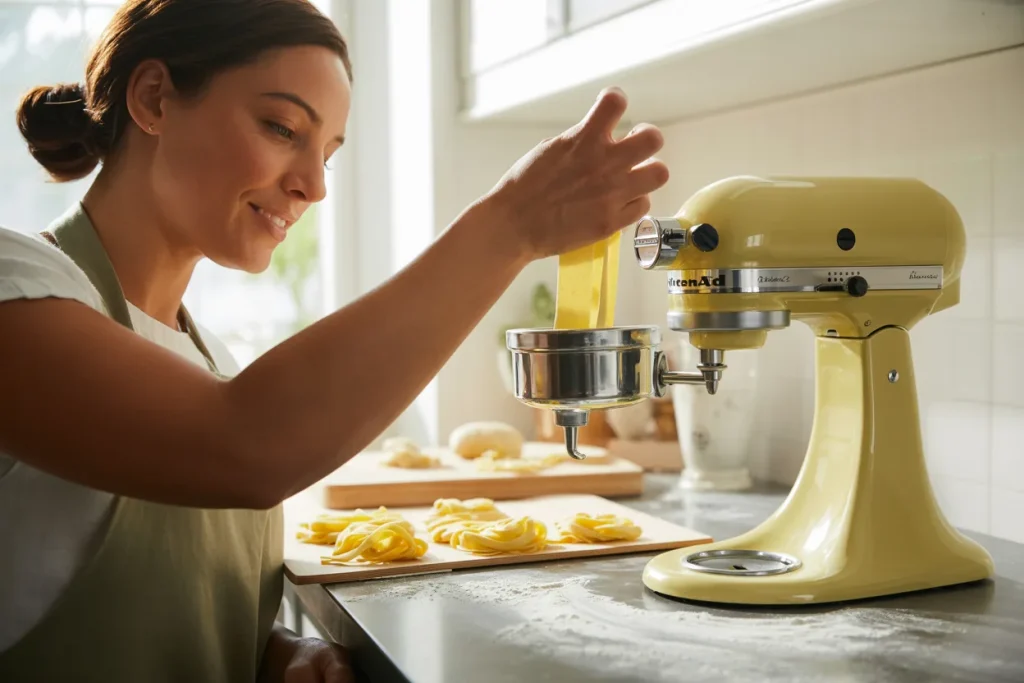
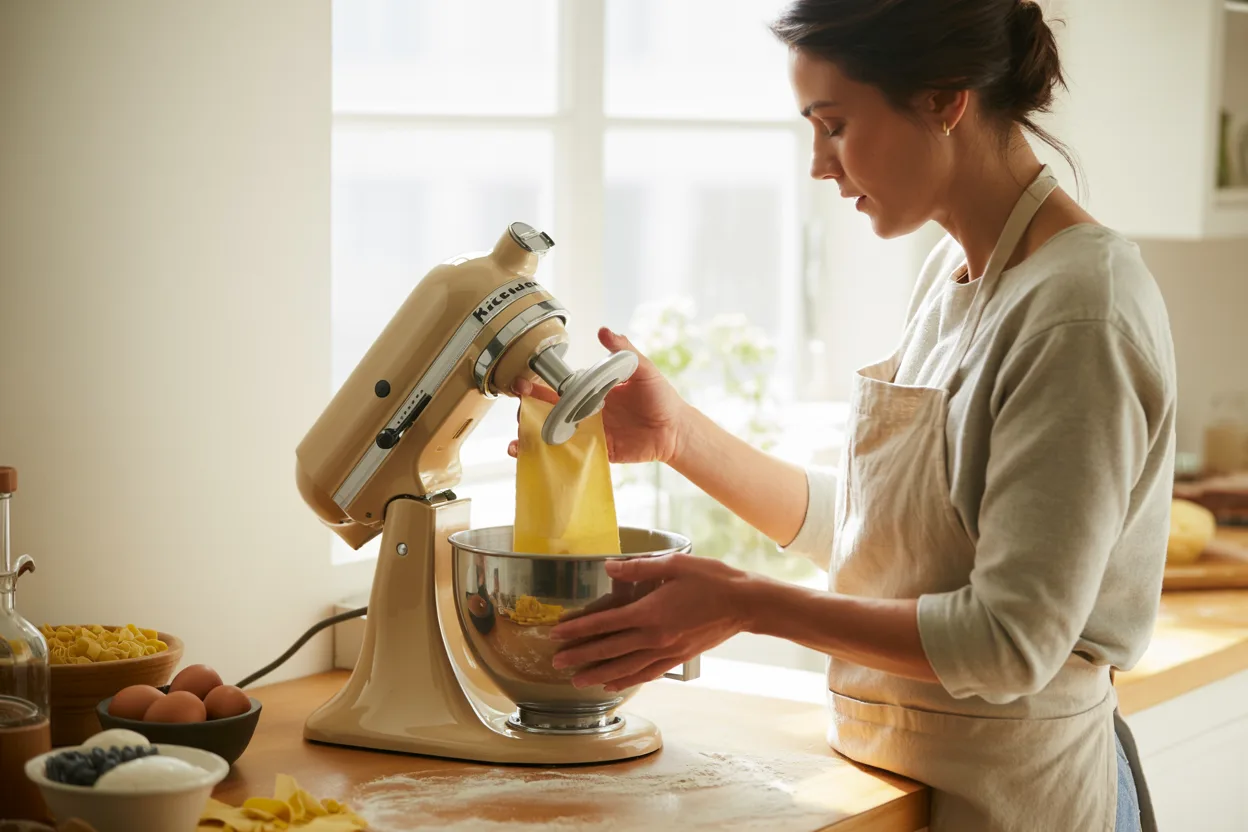
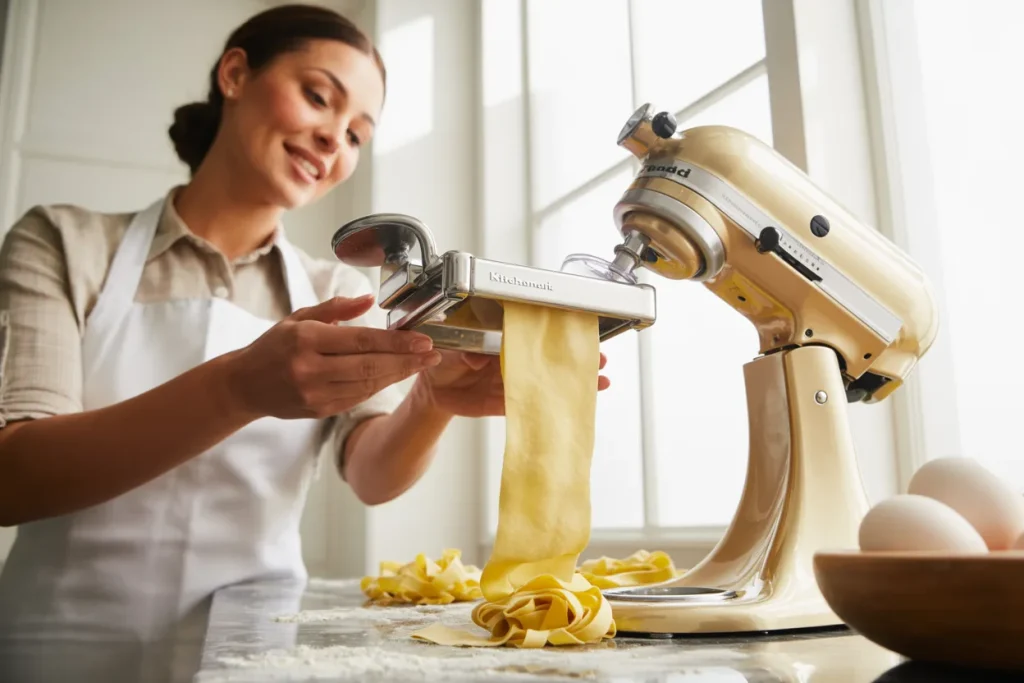
4. Roll Out the Dough with KitchenAid Pasta Roller
Now that the dough has rested, it’s time to roll it out. Attach the KitchenAid Pasta Roller attachment to your stand mixer. Begin by dividing the dough into small portions, about the size of a baseball. Flatten each piece slightly and start feeding it into the pasta roller.
Set the pasta roller to the widest setting, and feed the dough through once. Fold the dough in half and run it through again. Repeat this process until the dough reaches a thickness that you’re happy with.
Tip: The thinner the dough, the better. If you’re unsure, aim for a thickness of about 1/16 inch, which will give you that delicate pasta texture.
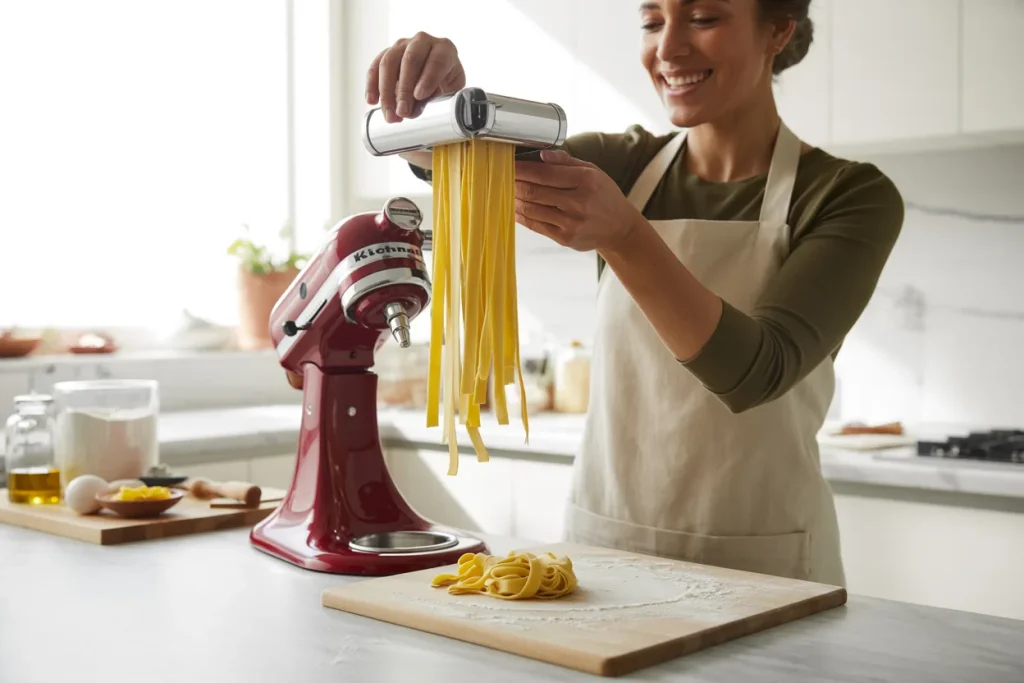
5. Cut the Pasta
Once the dough is rolled out, you can switch the KitchenAid attachment to a pasta cutter of your choice. The most common ones are for spaghetti, fettuccine, and pappardelle. Attach the cutter to the mixer, set it to the desired pasta type, and start feeding the dough through.
Cut the pasta into your desired length, then toss the strands with a little flour to prevent sticking.
6. Cook the Fresh Pasta
Fresh pasta cooks much quicker than dried pasta, usually in about 2-4 minutes. Bring a large pot of salted water to a boil and drop the freshly cut pasta into the water. Stir occasionally to prevent sticking.
Once the pasta rises to the surface, it’s done. Remove it with a slotted spoon and toss it with your favorite sauce.
Tips for Perfect Fresh Pasta Every Time
- Use the Right Flour: While all-purpose flour works well, using semolina flour will give your pasta a more authentic texture.
- Don’t Skip the Resting Time: Resting the dough makes a huge difference. Don’t rush through this step.
- Roll the Dough Thin: The thinner you roll the dough, the more delicate and delicious your pasta will be.
- Use a Clean Surface: Clean surfaces prevent dough from sticking and allow for smoother rolling.
- Keep Pasta Fresh: If you’re not cooking the pasta immediately, you can freeze it for later use.
Frequently Asked Questions
1. Can I Make Gluten-Free Pasta with KitchenAid?
Yes, you can. KitchenAid offers a gluten-free pasta attachment, and you can substitute the flour with gluten-free options like rice flour or almond flour. However, gluten-free dough may require a different ratio of flour and liquid, so be prepared to adjust the recipe accordingly.
2. How Do I Store Fresh Pasta?
Fresh pasta should be stored in an airtight container. If you’re not cooking it right away, you can freeze it for up to a month. Simply spread the uncooked pasta on a baking sheet to freeze before transferring it to a container.
3. How Can I Make Pasta with Flavors (like Spinach or Tomato)?
To make flavored pasta, simply add vegetable puree (like spinach or beetroot) to the dough mixture. Blend it in with the eggs for vibrant, delicious pasta.
Conclusion
Making fresh pasta with KitchenAid is a fun, satisfying process that results in a delicious dish every time. The KitchenAid stand mixer and its pasta attachments are fantastic tools that make it easy to create pasta dough and roll it to perfection. Whether you’re making spaghetti, fettuccine, or ravioli, this guide has given you all the tools you need to master homemade pasta.
With a little practice, you’ll be able to experiment with different pasta types and flavors, creating your own signature dishes. Happy pasta-making!
Quote: “Homemade pasta, made with love and the right ingredients, will never go out of style.” – Maria Hernandez
Pasta Recipe Ingredients
| Ingredient | Quantity |
|---|---|
| All-purpose flour | 2 cups |
| Eggs | 3 large |
| Salt | Pinch |
| Olive oil | 1-2 tbsp |
Cooking Time for Fresh Pasta
| Pasta Type | Cooking Time |
|---|---|
| Spaghetti | 2-3 minutes |
| Fettuccine | 3-4 minutes |
| Pappardelle | 4-5 minutes |
By following these steps, you’ll be on your way to making the perfect batch of fresh pasta with your KitchenAid stand mixer. Enjoy!
Related posts
 Which kitchen tools are essential for cooking
If you are wondering Which kitchen tools are essential for cooking , the answer includes nonstick pans, silicone utensils, stainless steel bowls, and dishwasher safe cookware…
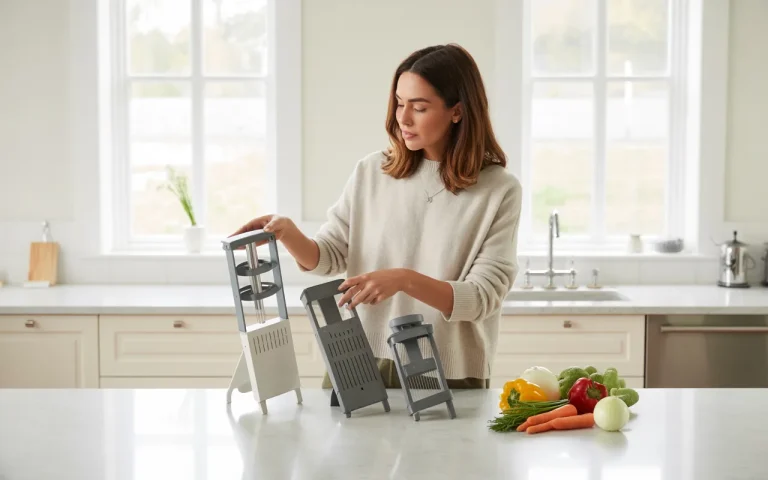 How to Choose the Right Vegetable Chopper
If you are wondering How to Choose the Right Vegetable Chopper, this guide explains blade types, size, material, safety features, and cleaning ease so you can…
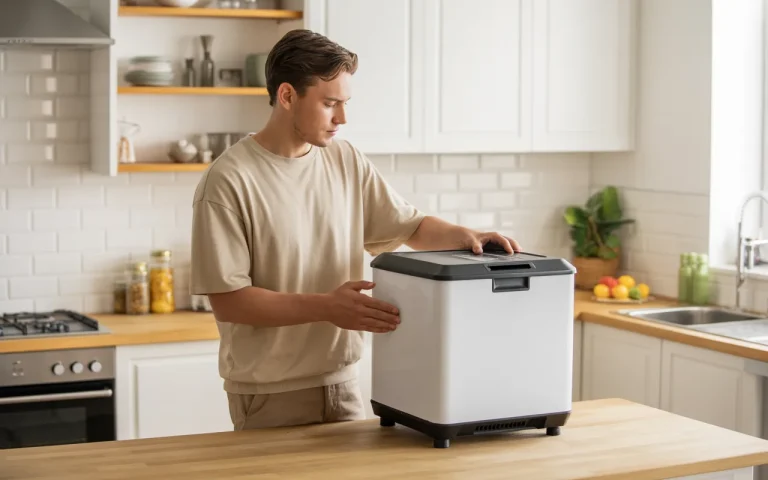 Best Portable Dishwasher 2026
Looking for the Best Portable Dishwasher 2026? This detailed guide reviews top models, features, pros and cons, pricing, and expert tips to help you choose the…